
In this article, we'll walk you through the seamless process of migrating data to a better analytics platform, like Devtodev. Wondering how it's done? What to keep in mind? And how long it takes? Get all the answers in the article below.
If you have a mobile app and you want to switch to Devtodev from another analytics tool because it's not working well, you can easily move all your data using our Import data wizard. It works whether your data is from your own analytics system or stored on your servers. It makes the transition simple and stress-free.
You can bring in different kinds of user and event data using the Devtodev data API. Common tasks involve moving over your existing user details (like when they signed up and their character levels), payment info, and user sessions. You're welcome to share other events too, but keep in mind it's best not to go beyond 90 days from when you start importing.
Read more: How to Create an Ideal Dashboard for Analyzing Mobile Games and Apps
For a successful import of historical data, it's crucial that the IDs used for user/device identification in your project, sent by the Devtodev SDK, match the IDs you have. These are the IDs to which you can connect the imported historical data.
The most effective way to migrate your historical data is by setting up custom user ID tracking in the Devtodev platform. A custom user ID, assigned by you as a developer, is typically the user's record number in your database or another ID you use to authorize and identify the user.
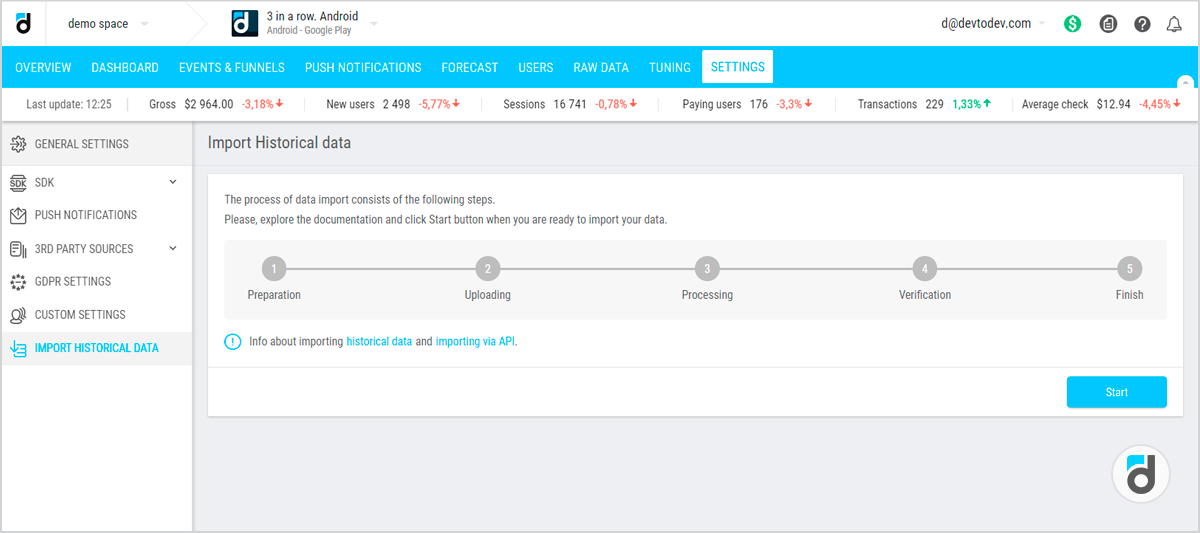
To kick off the process of importing historical data, head to the project settings where you want to load the historical data and choose "Import Historical Data."
Read more: How to Integrate an Analytics System into your Game
How to Actually Migrate Your Data?
1. Preparation stage: begin by creating a temporary project in devtodev and organizing your historical data.
2. Data loading stage: with just a couple of clicks, initiate the loading process.
3. Processing uploaded data: Devtodev moves the uploaded data to its database, computes metrics for the specified period, and then automatically advances to the next step—data verification. The duration of this step may vary, depending on your database size and could take up to several days.
4. Reviewing loaded data: this step is crucial as it allows you to assess if everything was done correctly. If satisfied, you're good to go. If any issues arise, make necessary changes and attempt the import again.
That’s it! Give it a try, it’s really easy!
For more practical details about processing time, limitations, correct user IDs, and additional tips, refer to the devtodev documentation. Wishing you a seamless migration!


: The Basics")
: The Basics")


 in Mobile Games")
 in Mobile Games")


")
")


")
")


")
")


 Tactics for Mobile Games")
 Tactics for Mobile Games")


